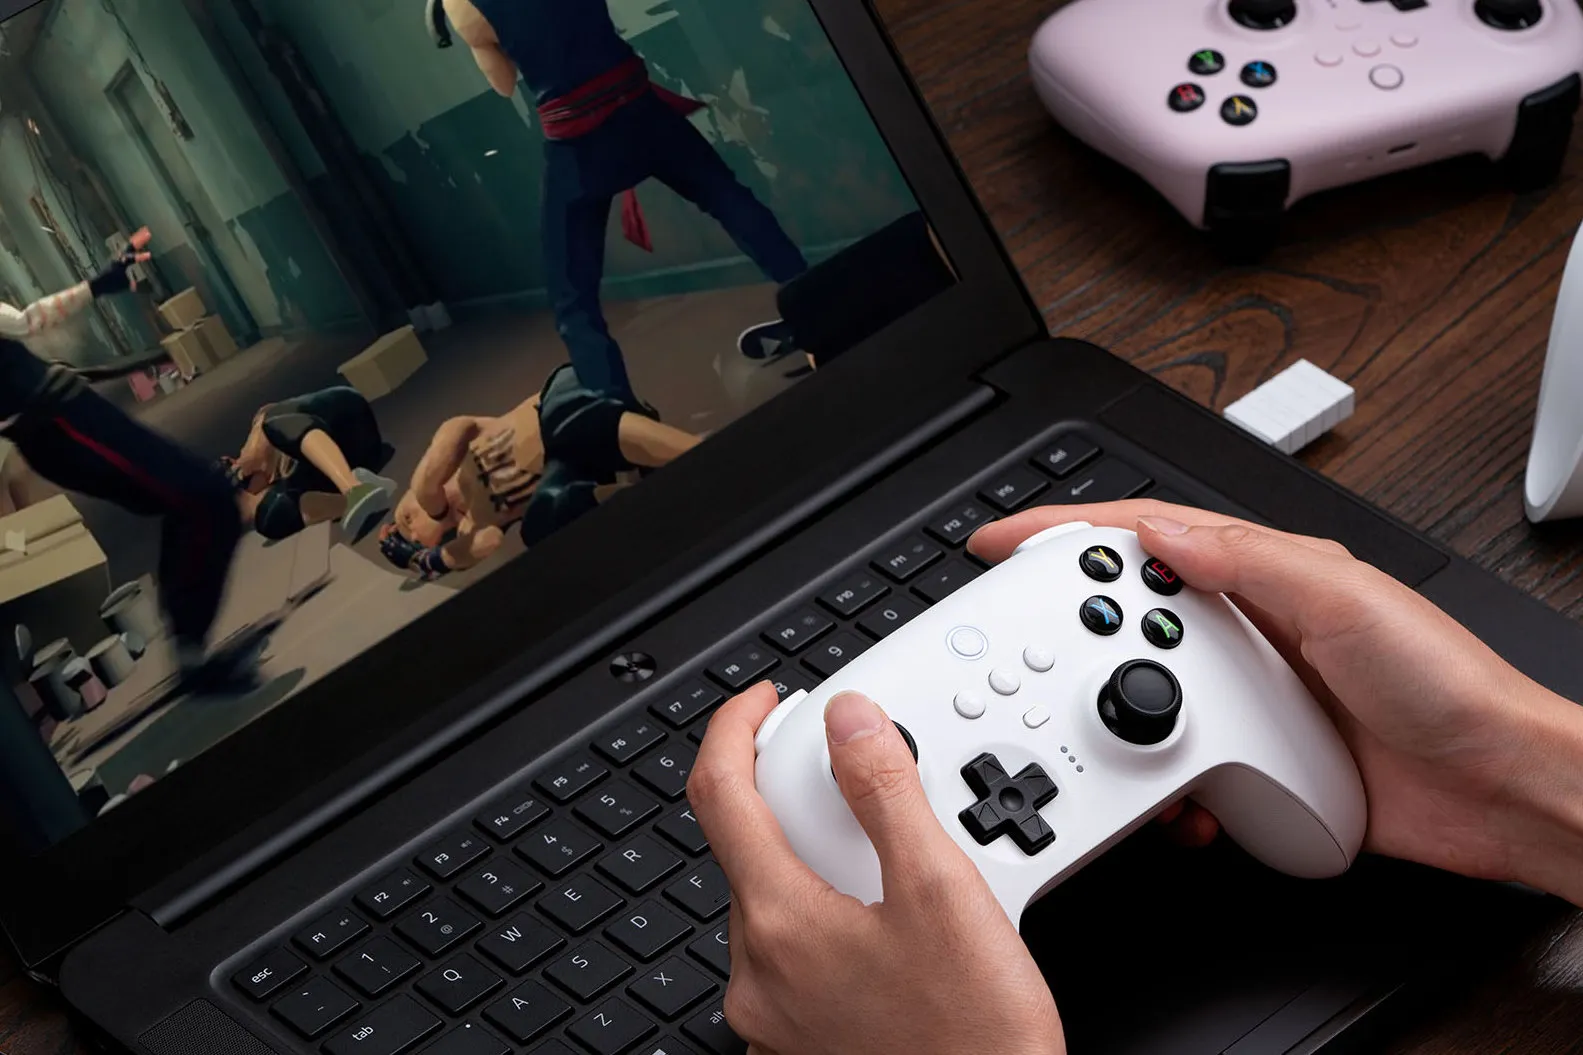
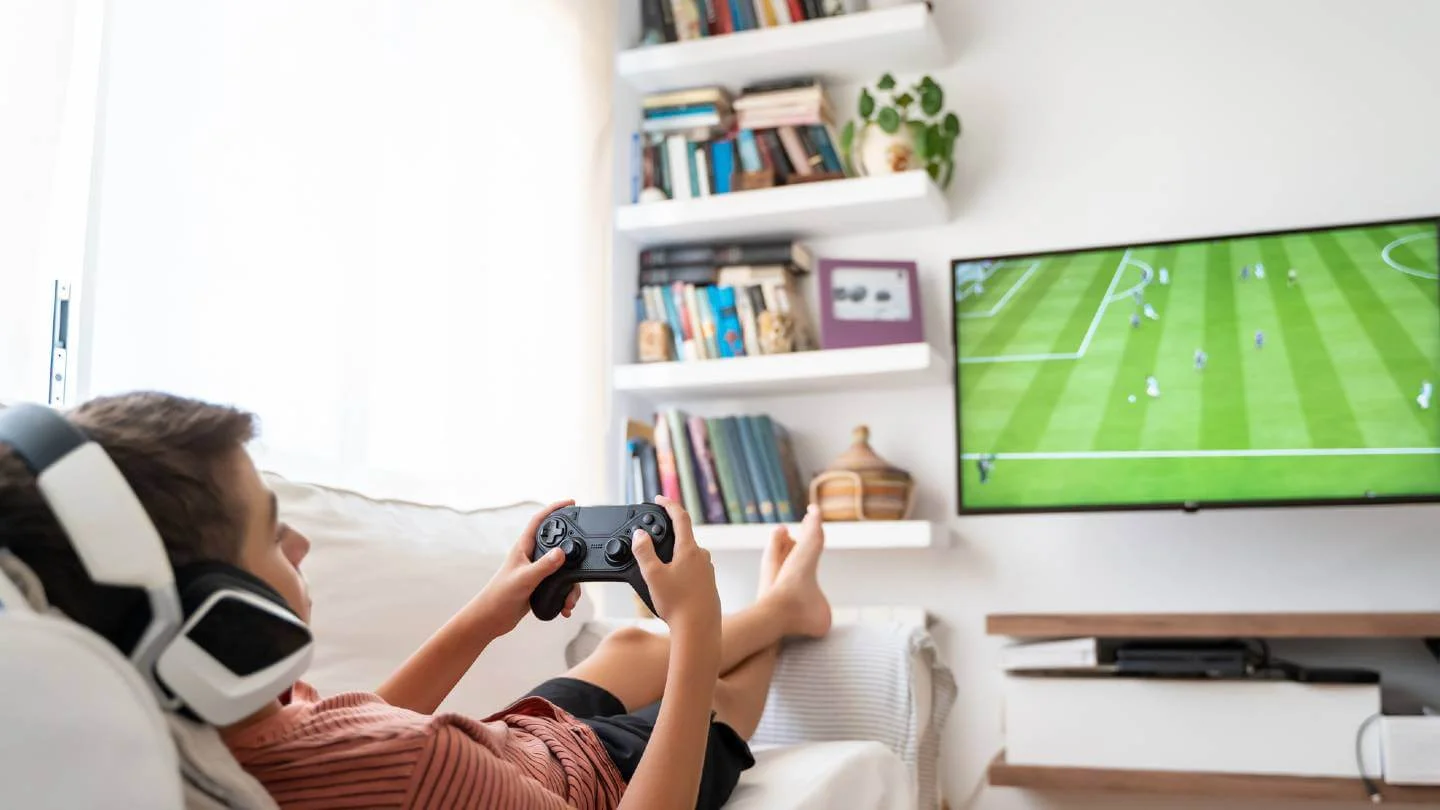
While a mouse and keyboard are the traditional input methods for PC gaming, using a controller can offer a more comfortable and intuitive experience for many game genres. Whether you prefer the familiar feel of an Xbox or PlayStation controller, or you’re using a third-party gamepad, connecting and configuring a controller for PC gaming in April 2025 is generally a straightforward process. I’ve personally enjoyed countless hours of PC gaming with a controller, and this guide will walk you through the step-by-step process to get your gamepad working seamlessly with your favorite PC games.
Step 1: Connecting Your Controller to Your PC
The first step is to physically connect your controller to your computer. You have a few options depending on your controller type and PC setup.
Method 1: Wired Connection via USB
This is often the simplest and most reliable method, especially for minimizing latency.
- Plug in Your Controller: Use a USB cable to connect your controller directly to an available USB port on your PC.
- Automatic Driver Installation (Usually): Windows 10 and Windows 11 in April 2025 often automatically recognize popular controllers like Xbox and PlayStation gamepads and install the necessary drivers. You might see a notification indicating that a new device has been detected and set up.
- Wait for Completion: Allow a few moments for the driver installation to finish. Once complete, your controller should be ready to use with compatible games.
Method 2: Wireless Connection via Bluetooth
For a clutter-free setup, Bluetooth offers a convenient wireless connection.
- Enable Bluetooth on Your PC:
- Windows 10: Go to Settings > Devices > Bluetooth & other devices and ensure Bluetooth is toggled “On.”
- Windows 11: Go to Settings > Bluetooth & devices and ensure Bluetooth is toggled “On.”
- Put Your Controller in Pairing Mode: The process for putting your controller in pairing mode varies depending on the type:
- Xbox Wireless Controller: Turn on the controller by pressing the Xbox button. Then, press and hold the small Pair button located on the back or top of the controller for a few seconds until the Xbox button starts flashing rapidly.
- PlayStation DualSense/DualShock 4 Controller: Press and hold both the PlayStation button and the Share button (located to the left of the touchpad on DualShock 4, and above the D-pad on DualSense) simultaneously for a few seconds until the light bar starts flashing rapidly.
- Generic Bluetooth Controllers: Consult your controller’s manual for specific instructions on how to enter pairing mode.
- Pair Your Controller with Your PC:
- Windows 10: In the Bluetooth settings, click “Add Bluetooth or other device,” select “Bluetooth,” and then select your controller from the list of available devices. You might need to enter a pairing code (often “0000” if prompted).
- Windows 11: In the Bluetooth settings, click “Add device,” select “Bluetooth,” and then select your controller from the list.
- Wait for Connection: Once paired, your controller should appear in the list of connected devices.
Method 3: Using a Wireless Adapter (For Specific Controllers)
Some controllers, like older Xbox Wireless Controllers or certain third-party gamepads, might require a specific wireless adapter to connect to your PC.
- Plug in the Wireless Adapter: Connect the wireless adapter to an available USB port on your PC.
- Install Drivers (If Necessary): Windows might automatically install drivers, but you might need to install them manually from the adapter manufacturer’s website.
- Put Your Controller in Pairing Mode: Follow the instructions specific to your controller (as mentioned in Method 2).
- Pair Your Controller with the Adapter: The adapter usually has a pairing button. Press it, and then press the pairing button on your controller. The devices should connect automatically.
Step 2: Configuring Your Controller for PC Games
Once your controller is connected, you might need to configure it for specific games.
Using Steam for Controller Configuration (Widely Compatible)
Steam offers excellent built-in support for various controllers and allows you to customize button mappings.
- Open Steam: Launch the Steam application on your PC.
- Enter Big Picture Mode (Optional but Recommended): Click the “Big Picture Mode” icon in the top-right corner of the Steam window (it looks like a rectangle with two outward-pointing arrows). This provides a controller-friendly interface.
- Go to Controller Settings: In Big Picture Mode, click the Gear icon (Settings) and then select “Controller Settings.” If you’re in the regular Steam interface, go to Steam > Settings > Controller > General Controller Settings.
- Detect Your Controller: Steam should automatically detect your connected controller. You might need to check the box next to your controller type (e.g., “Xbox Configuration Support,” “PlayStation Configuration Support,” “Generic Gamepad Configuration Support”).
- Customize Button Mapping (If Needed): Select your controller and click “Controller Configuration” (in Big Picture Mode) or “Desktop Configuration” or “Per-Game Controller Settings” (in the regular interface) to customize button mappings for specific games or for general use. You can remap buttons, triggers, and analog sticks to your preference.
- Launch Your Game: Once configured, launch your game through Steam. Steam will often automatically apply your controller settings.
Configuring Controllers Outside of Steam
Some games have their own built-in controller configuration options within their settings menus.
- Launch Your Game: Open the PC game you want to play.
- Go to Settings or Options: Look for a section related to “Controls,” “Controller,” “Input,” or “Gamepad.”
- Select Controller as Input Device: Ensure that “Controller” or “Gamepad” is selected as your preferred input device instead of “Keyboard and Mouse.”
- Customize Button Mapping (If Available): Many games allow you to customize the button layout to your liking within their control settings. Follow the on-screen prompts to map the controller buttons to the desired in-game actions.
Step 3: Troubleshooting Common Controller Issues
You might occasionally encounter problems with your controller not working correctly on your PC. Here are some common issues and how to troubleshoot them:
- Controller Not Recognized: Ensure your controller is properly connected (wired or Bluetooth). Try a different USB port or re-pair the Bluetooth connection. Restart your computer and try again.
- Missing or Outdated Drivers: If your controller isn’t being recognized, you might need to manually install or update its drivers. Visit the controller manufacturer’s website and search for the latest drivers for your operating system.
- Controller Not Working in a Specific Game: Check the game’s settings to ensure controller support is enabled and the correct controller is selected. If you’re using Steam, try configuring the controller through Steam’s Big Picture Mode.
- Button Mapping Issues: If buttons are not working as expected, try customizing the button mapping within the game’s settings or through Steam’s controller configuration.
- Latency or Input Lag (Wireless): If you experience noticeable lag with a Bluetooth connection, try moving closer to your PC or using a wired connection for a more responsive experience. Ensure your Bluetooth drivers are up to date.
My Personal Insights on Using Controllers for PC Gaming
I’ve found that using a controller for certain PC game genres, like action-adventure, racing, fighting games, and platformers, often provides a more immersive and enjoyable experience. While first-person shooters and strategy games typically benefit from the precision of a mouse and keyboard, having the option to switch to a controller adds a lot of versatility to PC gaming. Steam’s robust controller support has made it incredibly easy to use a wide variety of gamepads on PC. Don’t hesitate to experiment and find what control method works best for you and the games you play!

