Our smartphones have become indispensable tools, and the battery is their lifeblood. Over time, all lithium-ion batteries (the type found in almost all modern smartphones, including Samsung Galaxy devices) degrade. This degradation leads to reduced capacity and shorter battery life. Samsung, understanding this common user concern, has introduced a feature called Battery Protection (sometimes referred to as “Protect Battery” or “Maximum Battery Life”) on many of its Galaxy devices. This feature helps prolong the overall lifespan of your phone’s battery by limiting its maximum charge.
What is Battery Protection and Why Is It Important?
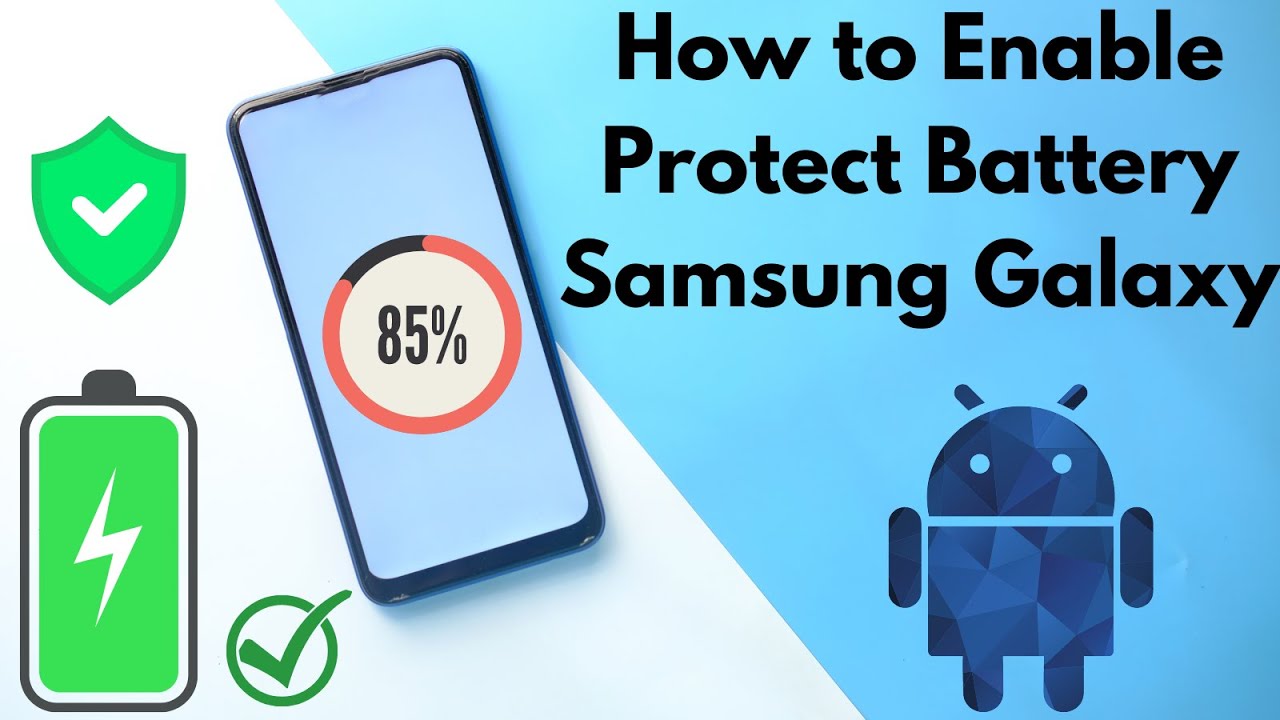
Battery Protection is a setting on Samsung Galaxy phones that prevents the battery from charging beyond 85%. While this means you won’t get a “full” 100% charge, it significantly reduces the stress on the lithium-ion battery.
To understand why this is important, let’s delve a little into how lithium-ion batteries work. These batteries store energy through the movement of lithium ions between a positive and negative electrode. Charging a battery to 100% and discharging it to 0% puts the most strain on these electrodes, accelerating their degradation. Think of it like constantly stretching a rubber band to its absolute limit; eventually, it loses its elasticity. By keeping the charge between approximately 20% and 80% (or in this case, topping out at 85%), you reduce the chemical stress on the battery, extending its overall lifespan. This means your battery will maintain a higher percentage of its original capacity for a longer period, delaying the need for a costly battery replacement.
This practice is based on extensive research and understanding of battery chemistry. For instance, companies that manage large fleets of devices, like electric vehicle manufacturers, often implement similar charging limits to maximize battery longevity. It’s a proactive measure to ensure your device stays reliable for years.
How to Activate Battery Protection on Your Samsung Galaxy
Activating Battery Protection is a straightforward process on most modern Samsung Galaxy smartphones running One UI (Samsung’s custom Android user interface). Here’s a step-by-step guide:
- Open Settings:
- Swipe down from the top of your screen to open the Quick Settings panel.
- Tap the gear icon (Settings) in the top right corner.
- Alternatively, find the Settings app icon in your app drawer and tap it.
- Navigate to Battery and Device Care:
- Scroll down through the Settings menu until you find “Battery and device care” and tap on it.
- Entity Definition: Battery and device care is a comprehensive section within Samsung’s Settings that provides tools and information for optimizing your phone’s performance, storage, memory, and most importantly, its battery health.
- Select Battery:
- Within the “Battery and device care” section, tap on “Battery.” This will take you to detailed battery usage statistics and settings.
- Access More Battery Settings (or similar):
- Scroll down on the Battery screen. You might see an option like “More battery settings,” “Battery settings,” or directly see “Protect battery.” Tap on this option.
- Entity Definition: One UI is the proprietary Android user interface developed by Samsung for its Galaxy devices. It focuses on delivering a user-friendly experience with a clean design and intuitive navigation.
- Toggle On “Protect battery” / “Battery protection”:
- You will now see the “Protect battery” or “Battery protection” toggle. Tap the switch to turn it on.
- Once activated, your Samsung Galaxy phone will stop charging at 85%, helping to preserve its long-term battery health.
What if I don’t see the “Protect battery” option?
The availability and exact naming of the Battery Protection feature can vary slightly depending on your specific Samsung Galaxy model and the version of One UI you are running. Generally, newer models and software versions are more likely to have this feature.
- Older Models: Some older Samsung Galaxy phones may not have this specific “Protect battery” feature built into the software.
- Software Updates: Ensure your phone’s software is up to date. Samsung often rolls out new features and improvements through software updates. You can check for updates in Settings > Software update > Download and install.
- Alternative Apps/Practices: If your device doesn’t have the built-in feature, you can still practice good battery habits:
- Avoid routinely charging to 100% or letting it drain to 0%.
- Use slow charging whenever possible (avoid fast charging unless necessary).
- Keep your phone in a cool environment, as heat accelerates battery degradation.
Frequently Asked Questions (FAQ)
Q1: Does Battery Protection really extend battery life?
A1: Yes, absolutely. By limiting the charge to 85%, Battery Protection significantly reduces the chemical stress on your lithium-ion battery, slowing down its degradation process. This means the battery will maintain its capacity for a longer period, effectively extending its overall lifespan. You’ll notice your phone holds a charge better over several years compared to a battery constantly charged to 100%.
Q2: Will my phone still last a full day with Battery Protection on?
A2: It depends on your usage. While limiting the charge to 85% means less immediate power, for many users, this will still be sufficient for a full day’s moderate use. If you’re a heavy user, you might need a quick top-up during the day. The trade-off is sacrificing a small amount of daily charge for much better long-term battery health.
Q3: Can I temporarily disable Battery Protection if I need a 100% charge?
A3: Yes, you can easily toggle the “Protect battery” feature off and on as needed. If you know you’ll be away from a charger for an extended period and need every bit of juice, you can disable it temporarily to charge to 100%, then re-enable it afterward.
Q4: Is Battery Protection available on all Samsung Galaxy models?
A4: The Battery Protection feature is primarily available on newer Samsung Galaxy models running recent versions of One UI. Older or entry-level models might not have this specific setting. Always check your phone’s “Battery and device care” settings to confirm.
Q5: What are other ways to maintain my Samsung Galaxy battery health?
A5: Beyond Battery Protection, here are some key practices:
- Avoid extreme temperatures (both very hot and very cold).
- Use the original charger and cable.
- Avoid fully discharging your phone to 0% frequently.
- Keep your software updated.
- Close background apps you’re not using.
- Reduce screen brightness and use dark mode.
Q6: What is a lithium-ion battery?
A6: A lithium-ion battery is a type of rechargeable battery that uses lithium ions as a key component of its electrochemistry. They are widely used in portable electronic devices like smartphones, laptops, and electric vehicles due to their high energy density and relatively low self-discharge rate. However, they degrade over time with charge cycles and exposure to high temperatures.