If you’ve invested in a Samsung QLED TV, getting the best picture quality is essential to enjoy its full potential. These TVs come with powerful processing, Quantum Dot technology, and a range of picture settings that you can customize based on your preferences and room conditions. However, out-of-the-box settings aren’t always perfect for every user. In this guide, I’ll explain how to adjust picture settings on a Samsung QLED TV, based on both hands-on experience and best practices.
Why Adjust Picture Settings on Samsung QLED TVs
Samsung QLED TVs are factory-calibrated for retail showrooms. This means the default mode may emphasize brightness and color saturation to attract buyers, but not necessarily to deliver the most accurate or comfortable viewing experience at home.
Adjusting picture settings helps to:
- Improve contrast and brightness for your room lighting
- Enhance color accuracy and skin tones
- Minimize motion blur during fast scenes
- Reduce eye strain, especially in dark rooms
Let’s walk through each step to achieve optimal picture quality.
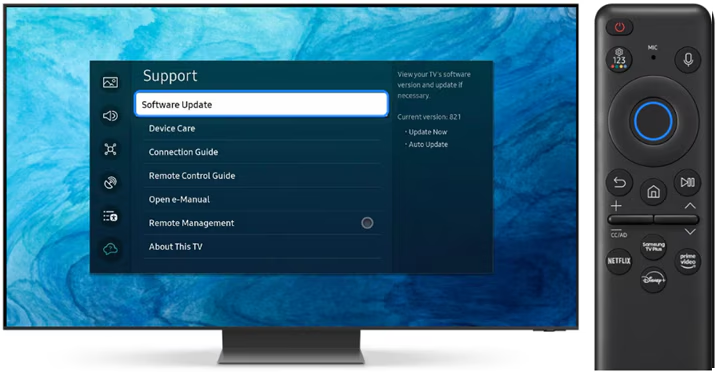
Step 1: Access the Picture Settings Menu
You can adjust picture settings directly from the remote.
How to open it:
- Press the Home button on your Samsung Smart Remote.
- Navigate to Settings.
- Select Picture.
You’ll now see key options like Picture Mode, Expert Settings, and Picture Size Settings.
Step 2: Choose the Right Picture Mode
This is the base profile that affects all other settings.
Available modes:
- Dynamic: Very bright and vivid, ideal for well-lit rooms but often oversaturated.
- Standard: Balanced, suitable for mixed lighting conditions.
- Natural: Softer on the eyes, good for prolonged viewing.
- Movie: More accurate and subdued colors, intended for cinematic viewing.
- Filmmaker Mode (on newer models): Disables motion smoothing and adjusts color and brightness to match the director’s intent.
For my setup in a moderately lit room, I use Movie Mode. It’s the closest to professional calibration without needing extra tools.
Step 3: Adjust the Backlight and Brightness
These two are often confused, but they serve different purposes.
- Backlight: Controls the panel’s light output. Set higher for bright rooms, lower for dark rooms.
- Brightness: Adjusts the level of black in the image. Increasing it can gray out dark areas, decreasing it too much can crush shadow details.
In a dim room, I set Backlight to 15 (on a 0–20 scale) and Brightness to 0. Adjust incrementally and observe how it affects dark scenes.
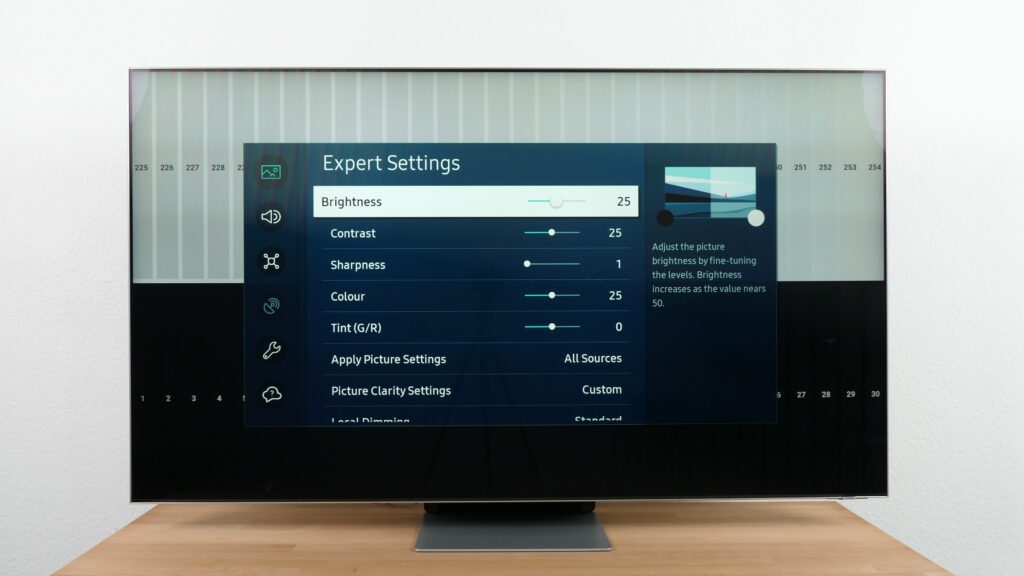
Step 4: Set Contrast and Sharpness
These two significantly impact clarity and detail.
- Contrast: Controls white level. A higher contrast makes bright areas pop but can lose subtle details.
- Sharpness: Enhances edge definition. Too much sharpness creates halos around objects, known as “edge enhancement.”
Try these settings as a starting point:
- Contrast: 45–50
- Sharpness: 0–10
Personally, I keep Sharpness at 0 to preserve natural image quality.
Step 5: Tweak Color and Tint
These settings affect color richness and skin tone accuracy.
- Color: Adjusts the intensity of all colors.
- Tint (G/R): Adjusts the balance between green and red tones.
Overdoing Color can make scenes look cartoonish. For most QLED models, I keep Color between 25–30. Set Tint to 0 unless you notice a green or red bias in skin tones.
Step 6: Enable or Disable Picture Enhancements
QLED TVs come with extra features under Expert Settings.
- Digital Clean View: Reduces noise in low-resolution content. Enable only for DVDs or cable TV.
- Auto Motion Plus: Controls motion smoothing. Turn it Off or set to Custom and reduce Blur and Judder to avoid the “soap opera effect.”
- Local Dimming: Adjusts contrast dynamically in darker scenes. Set to Standard or Low for natural depth.
- Contrast Enhancer: Increases contrast. If you’re watching HDR content, this can improve highlights, but turn it off for SDR content.
- Color Tone: Choose Warm1 or Warm2 for realistic skin tones (cooler tones look bluish).
Step 7: Configure HDR Settings (Optional)
HDR content is handled differently.
When playing HDR10 or HDR10+ content, your QLED TV will automatically switch to HDR mode. You can tweak:
- Backlight: Set to 100 (maximum).
- Contrast: Set high, usually around 45–50.
- Color Tone: Warm2 is recommended.
- Local Dimming: Set to High for better black levels.
- Contrast Enhancer: You may turn it off if you prefer natural images.
I usually test HDR settings with a streaming platform like Netflix or Amazon Prime Video using known HDR shows.
Step 8: Adjust Picture Size and Screen Fit
Sometimes the image doesn’t fill the screen or appears stretched.
How to fix:
- Go to Settings > Picture > Picture Size Settings.
- Set Picture Size to 16:9 Standard.
- Enable Fit to Screen to avoid overscan.
- If needed, use Zoom and Position to manually adjust the view.
This is helpful when using a set-top box or external media player.
Step 9: Use Ambient Light Detection (Optional)
Some Samsung QLED TVs offer a feature that automatically adjusts brightness based on room lighting.
To enable:
- Go to Settings > General > Eco Solution.
- Turn on Ambient Light Detection.
I personally keep this off, as I prefer consistent brightness. But in changing light environments, this can be useful.
Step 10: Save Picture Settings for All Sources
Some picture settings only apply to the input source you’re currently using.
Once you’re happy with your configuration:
- Switch to each HDMI input or app (like YouTube, Netflix, etc.)
- Manually apply the same Picture Mode and settings
Samsung does not allow global application of settings across all sources, so doing this manually ensures consistency.
Bonus Tip: Use Professional Calibration Tools (Optional)
If you want the most accurate results:
- Use a calibration disc like Disney WOW or Spears & Munsil
- Or hire a professional TV calibrator
However, for most users, tweaking the settings using the steps above gets you 90% of the way there.
Conclusion
Adjusting the picture settings on your Samsung QLED TV can significantly enhance your viewing experience. Whether you’re watching movies, sports, or gaming, a few simple changes can bring out the best in your display. From selecting the right Picture Mode to fine-tuning brightness, contrast, and motion settings, every adjustment makes a visible difference. Based on my own experience, I recommend starting with Movie Mode, setting Sharpness to 0, and using Warm1 for color tone. Spend time with each setting, use test patterns or real content, and adjust according to your room lighting and personal preference. Take control of your picture quality, and your QLED TV will reward you with crisp, vibrant, and lifelike visuals every time.