


OnePlus 15 Set for Late October Launch with Snapdragon 8 Elite Gen 5
Get details on the upcoming OnePlus 15, expected in late October. The phone will feature the new Snapdragon 8 Elite Gen 5 chip and major camera upgrades.
Qualcomm Says New Snapdragon Chips Are Fastest for Windows PCs
Qualcomm introduces the Snapdragon X Elite and X Plus chips, claiming they offer the best performance and battery life for new Windows AI laptops.

Meta Product Chief Chris Cox Calls Smart Glasses the Future of Computing
Meta's Chief Product Officer Chris Cox says smart glasses will eventually replace smartphones as the main way people interact with technology and the digital world.

Hollow Knight Silksong Is Out Now, Crashing Storefronts
Hollow Knight: Silksong's surprise release is causing major game storefronts, including Steam, to experience widespread crashes due to high demand.
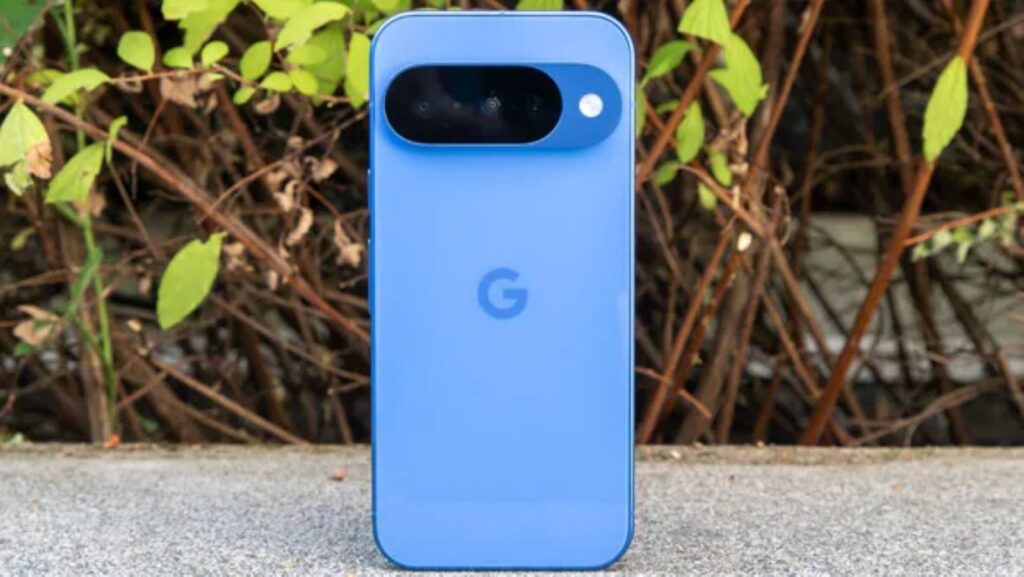
Google Pixel 10a Might Miss Key Pixel 10 Chip Upgrade
Reports suggest the upcoming Google Pixel 10a may not feature the new Tensor G5 chip, creating a larger performance difference from the flagship Pixel 10.

DJI Mic 3 Features New Audio Capabilities in a Compact Size
DJI launches the Mic 3 wireless microphone system with 32-bit float recording, timecode sync, and adaptive gain control in a smaller, lighter design.
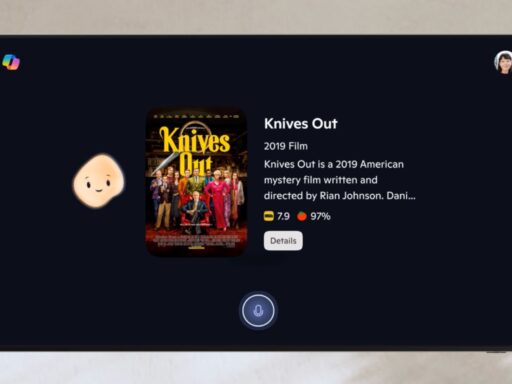
Microsoft’s Copilot AI Now on Samsung TVs and Monitors
Microsoft’s Copilot AI is now on select Samsung 2025 TVs and monitors. The integration brings an interactive AI assistant for content discovery and more.
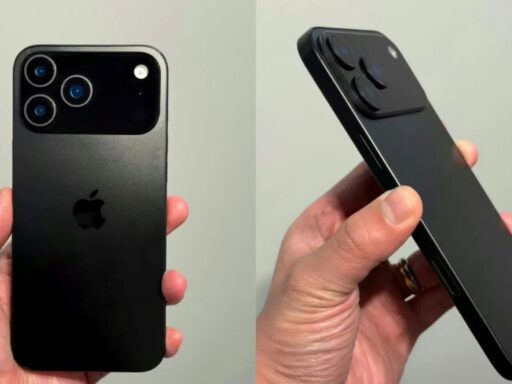
iPhone 17 Pro Rumored to Feature Reverse Wireless Charging
Rumors suggest the upcoming iPhone 17 Pro could finally introduce reverse wireless charging, allowing it to charge other devices like AirPods and Apple Watch.

How to Use Samsung Galaxy AI Features in One UI 7
Discover how to harness the power of Samsung Galaxy AI in One UI 7. This guide covers Circle to Search, Generative Edit, Live Translate, and more.
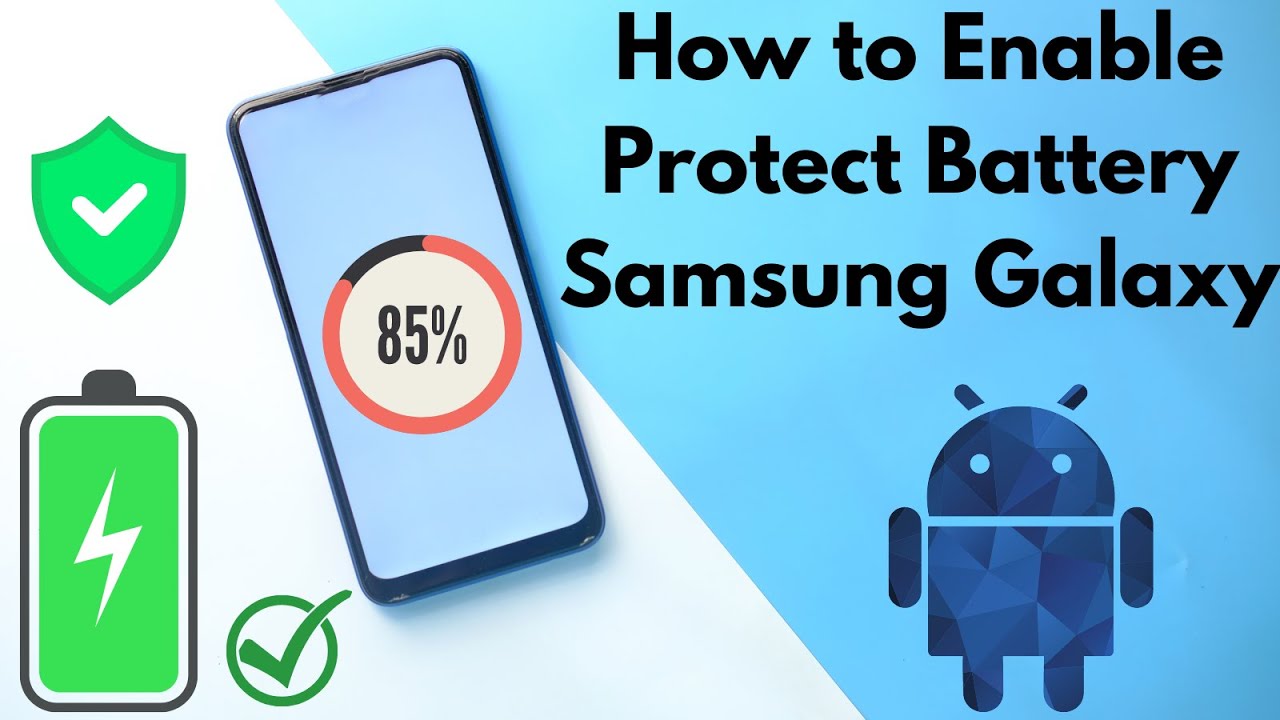
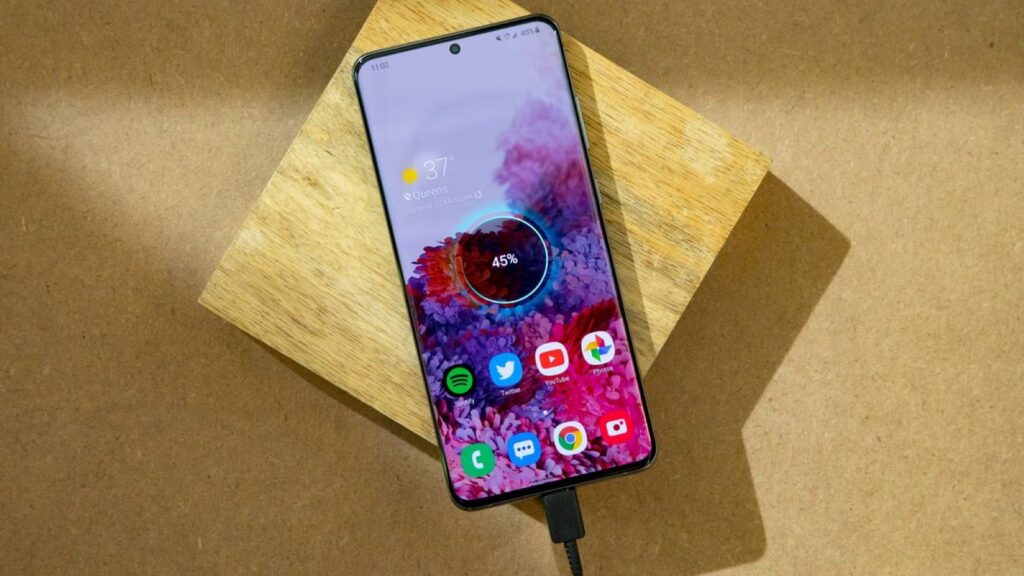
How to Activate Samsung Galaxy Battery Health Protection
Protect your Samsung Galaxy battery and extend its lifespan. Learn how to activate Battery Protection mode with this easy-to-follow guide.
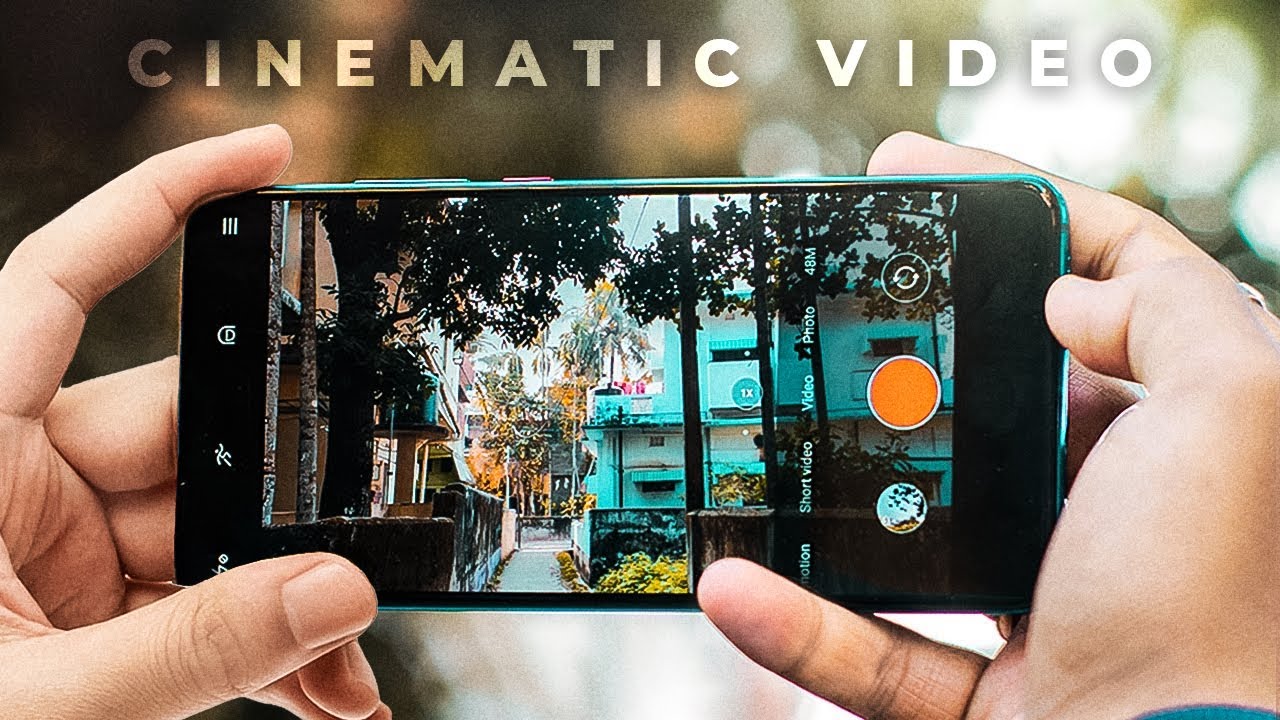
How to Create Cinematic Videos with Your Samsung Galaxy Phone
Learn how to achieve cinematic video on your Samsung Galaxy. Discover essential techniques and alternative apps, as Expert RAW primarily focuses on still photography
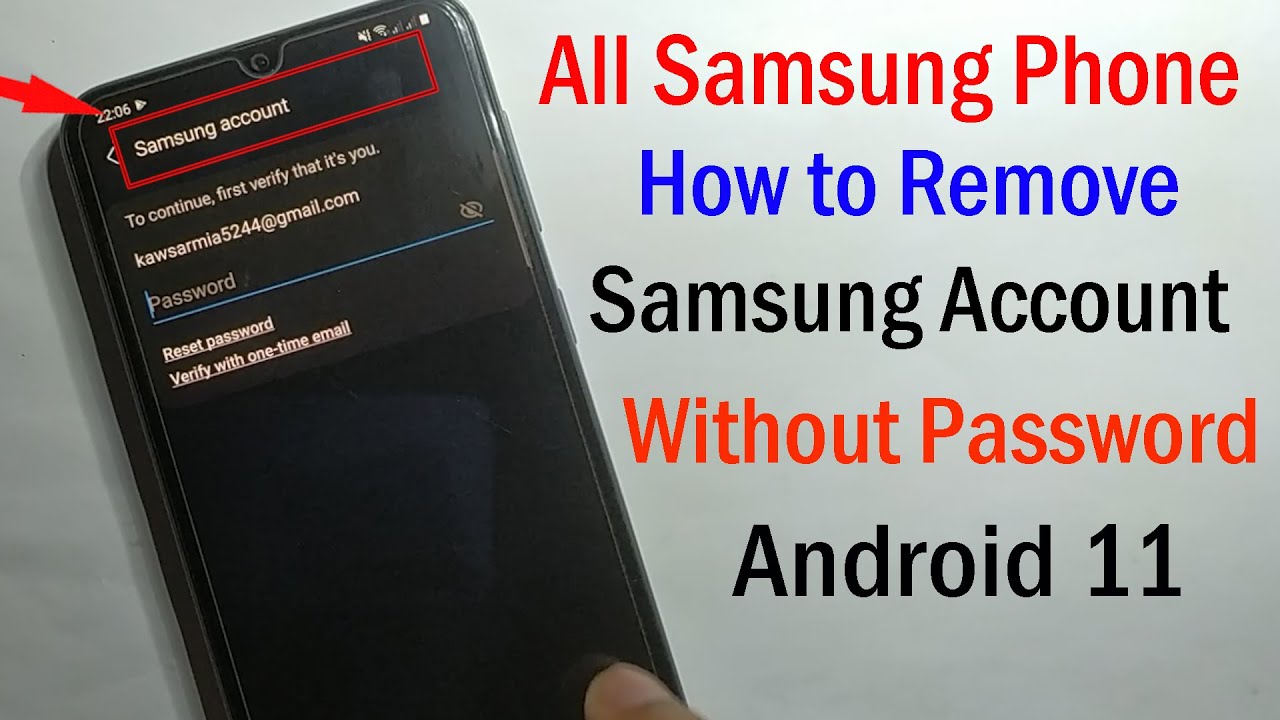
How to Set Up a Samsung Phone Without a Google Account
Learn how to set up your new Samsung phone without a Google account. This comprehensive guide walks you through the steps to maintain your privacy.